A failed glazing inspection can cost weeks on a Florida commercial project. Inspectors in Florida are thorough — especially on glazing, because hurricane protection and life safety depend on getting it right. Here's exactly what they check.
What a Glazing Inspection Covers
On a Florida commercial project, the glazing inspection is typically called as a rough-in inspection (after framing is in, before interior finishes) and a final inspection (after all glazing is installed). Some jurisdictions break it into multiple inspections. What the inspector checks:
1. Product Approvals Match What Was Installed
Every glazing product installed under a Florida building permit must have a current Florida Product Approval (FL PA) number or Miami-Dade NOA. The inspector will verify that the installed product matches the approved product submitted with the permit.
This means the framing system, glass, and any hardware specified in the permit documents must match exactly what is installed. Substitutions — even seemingly equivalent products — can fail inspection if they aren't properly documented as approved equivalents. Learn more about product approvals in our guide on what is a Florida Product Approval.
2. Glass Labels Are Visible
This is the most commonly failed item on Florida glazing inspections. Every piece of tempered glass, impact-rated laminated glass, and fire-rated glass must have a permanent, visible label identifying:
- Manufacturer name
- Glass type (tempered, laminated, impact-rated)
- Product approval number or testing standard
- Impact rating (for impact glass)
Labels that have been removed, painted over, or obscured by sealant will fail inspection. The inspector cannot verify the glass meets code without the label. If a label is missing, the glass may need to be replaced — there is no way to retroactively certify unlabeled glass.
3. Installation Per Manufacturer Instructions
The product approval is only valid when the product is installed exactly as specified in the manufacturer's installation instructions. Inspectors check:
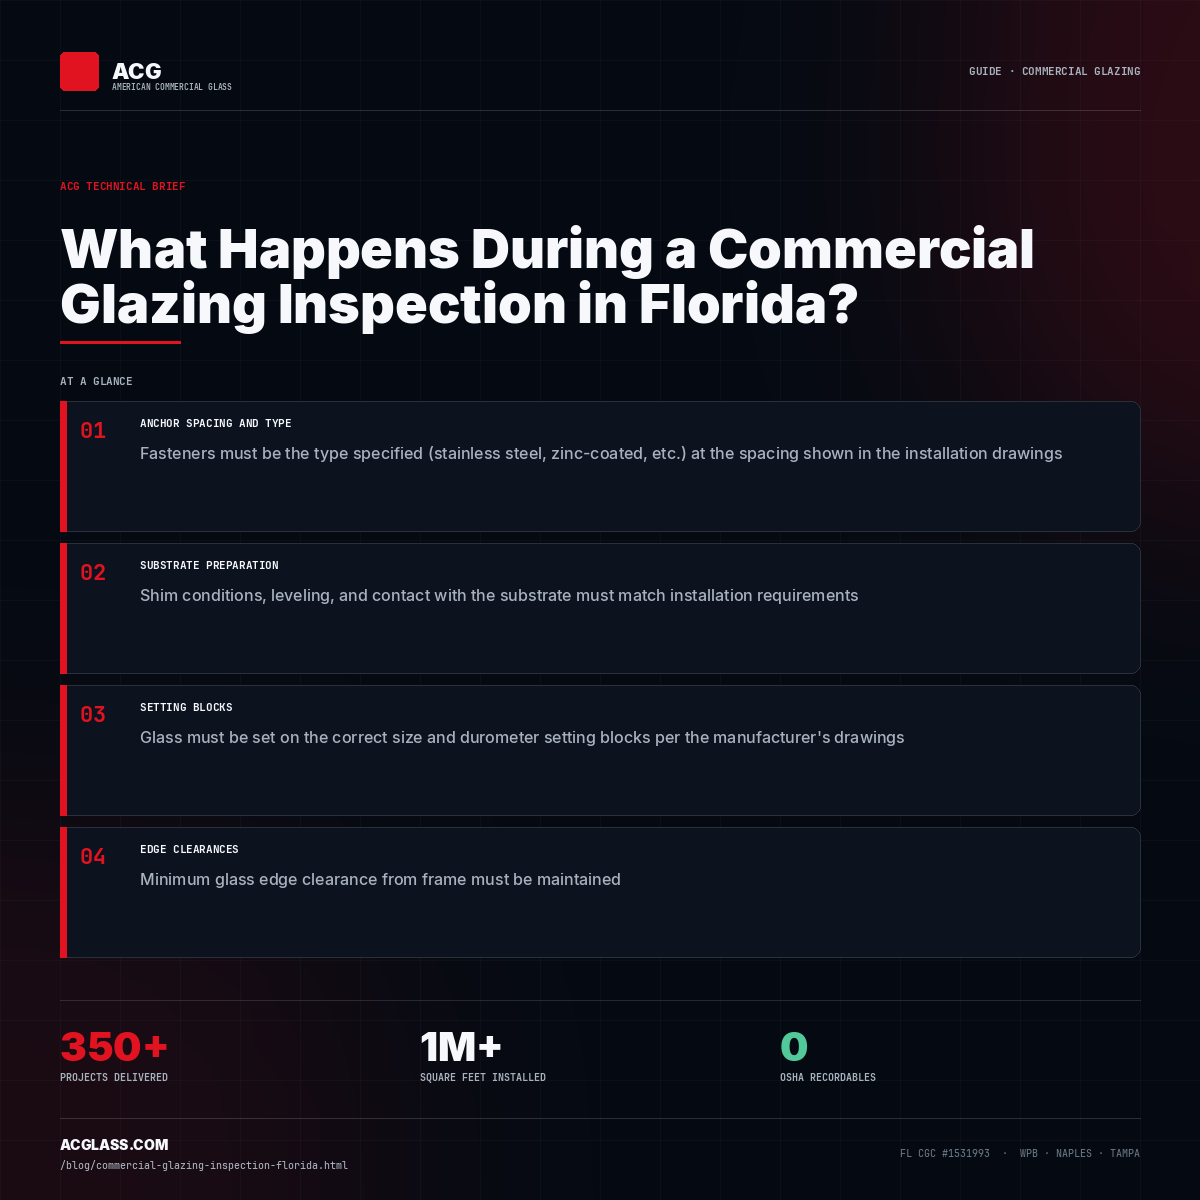
- Anchor spacing and type: Fasteners must be the type specified (stainless steel, zinc-coated, etc.) at the spacing shown in the installation drawings
- Substrate preparation: Shim conditions, leveling, and contact with the substrate must match installation requirements
- Setting blocks: Glass must be set on the correct size and durometer setting blocks per the manufacturer's drawings
- Edge clearances: Minimum glass edge clearance from frame must be maintained
4. Sealant Application
Sealant is the last line of defense against water infiltration. Inspectors look for:
- Full, continuous sealant bead with no voids or gaps
- Correct sealant type (structural silicone where required, weatherseal silicone at perimeter)
- Proper tooling — sealant must be tooled to make contact with both substrates
- No bridging over gaps
- Sealant applied before primer has cured (many silicones require primer and have open time limits)
5. Hardware Function and ADA Compliance
All doors must function correctly at final inspection:
- Doors open and close properly without sticking or binding
- Door closers function — doors close completely and latch without slamming
- Exit devices function (panic bars, push/pull hardware)
- ADA hardware is installed — lever handles, accessible hardware, proper force requirements
- Automatic door operators function correctly (if specified)
6. Tempered and Laminated Glass in Hazardous Locations
Florida Building Code (following IBC Section 2406) requires safety glazing in hazardous locations, including:
- Glazing in doors and sidelites within 24 inches of a door edge
- Glazing within 18 inches of the floor in walls
- Glazing in stair landings and near bottom of stairs
- Glazing in wet areas (showers, tubs)
- Glazing in commercial entries and high-traffic areas
Safety glazing must be labeled with CPSC 16 CFR 1201 compliance. This is a separate label from the impact label — don't confuse the two.
Common Inspection Fail Points
| Fail Point | How to Prevent |
|---|---|
| Missing glass labels | Brief all installers: never remove permanent labels before inspection. Schedule inspection before any cleaning or caulk-out that might obscure labels. |
| Product mismatch | Submit accurate product approval numbers with permit documents. Flag any substitutions before installing. Get AHJ approval for substitutions in writing. |
| Sealant voids | Use a backer rod to control sealant depth. Tool every joint. Walk the project before calling for inspection. |
| Wrong anchor spacing | Use the manufacturer's stamped installation drawings on the job site. Field measure and verify anchor spacing before installing. |
| ADA hardware issues | Review hardware set with the architect before ordering. Verify door force at closer during commissioning. |
| Safety glazing location | Mark hazardous location requirements on shop drawings. Verify with PM before glass is cut. |
How to Prepare for a Florida Glazing Inspection
Before calling for a glazing inspection in Florida:
- Compile your product approval package. Have the FL PA or NOA for every product installed, plus the installation instructions, ready for the inspector.
- Walk the project and verify glass labels. Check every piece of impact, tempered, and fire-rated glass. If a label is missing, contact your glazing contractor before calling inspection.
- Check sealant continuity. Look at every joint from close range. A flashlight helps. No voids.
- Test every door. Open, close, latch, and operate hardware on every door. Fix anything that doesn't work perfectly before inspection.
- Verify anchor spacing. Compare installed fastener spacing to the approved installation drawings.
- Have your glazing contractor present if possible. An experienced glazing sub can answer technical questions immediately and address minor issues on the spot.
ACG maintains current product approval documentation for every system we install. We brief our crews on label requirements before every job. For more on Florida code requirements, see our guide on Florida Building Code for commercial windows in 2026. If you need a licensed contractor for your Florida project, see our licensed glazing contractor page. For GC coordination needs, see our GC resources page.
Frequently Asked Questions
What does a glazing inspector check in Florida?
A Florida glazing inspector checks: product approval documentation (FL PA or NOA must match installed products), glass labels on tempered, impact, and fire-rated glass, installation compliance with manufacturer instructions (anchor spacing, substrate, setting blocks), sealant application (no voids, correct type, properly tooled), hardware function and ADA compliance, and safety glazing in hazardous locations.
What are the most common reasons a glazing inspection fails in Florida?
The most common failures are: missing or removed glass labels (inspector can't verify product without label), product approval mismatch (installed product doesn't match permit documents), sealant voids (gaps in perimeter or structural sealant), wrong anchor spacing (doesn't match manufacturer installation drawings), and ADA hardware issues (wrong hardware type or insufficient door force adjustment).
Can you remove glass labels before inspection?
No. Permanent etched or fired-on labels must remain visible until after inspection. Inspectors require visible labels on all tempered, impact-rated, and fire-rated glass to verify code compliance. If a label is missing or removed, the glass may need to be replaced — there is no way to retroactively certify unlabeled glass.